
Make Your Home’s Christmas Lights Dance With EZRGB, No Manual Mapping

Christmas lights “dance” because a timed lighting sequence, often called a timing track, tells each addressable pixel exactly when to light up and what color to show, and a show player sends those commands in perfect sync with the song. Some platforms generate that sequence for your layout automatically, so you do not need to manually map purchased songs. Getting there safely still depends on correct power, signal wiring, and weatherproofing.
How synchronization works: the signal path from music to light
Every music-synced display starts with a song and ends with a controller flipping pixels on and off in time. In between, a few things have to happen in order.
A sequence designer either places effects on the timeline by ear or uses beat-detection tools that mark where the drums, vocals, or key transitions fall. Those markers become reference points for the show. The sequencer then converts each marker into frame-by-frame color and brightness commands for every pixel in the layout, essentially a giant spreadsheet of instructions tied to exact timestamps.
Once that file is built, the show player takes over. It reads the sequence and streams the timed commands to your controllers, which translate them into the electrical signals that drive each pixel. The entire process depends on tight timing, often down to milliseconds, since even small delays between the audio and the lights become noticeable to the eye.
-
Audio analysis or manual placement creates timing markers.
-
The sequencer turns markers into per-pixel frame data.
-
The player sends that data to controllers in real time.
-
Latency can creep in from slow hardware, long data runs, or mismatched frame rates.
Core hardware: addressable pixels, controllers, power supplies, and wiring
Addressable pixels are the foundation of any animated display. Unlike standard string lights, each pixel contains a small chip that reads its own position in a data stream, so it can display a different color than its neighbor at the exact same moment. That is what makes chasing, fading, and per-pixel choreography possible.
Controllers sit between your sequence file and the pixels, translating show data into signals each string can understand. Most controllers list a port and channel count, which determines how many pixels or prop strings you can run from a single unit. Power supplies need to match both the voltage and wattage your pixel count demands, and wiring should inject power at multiple points along long runs to avoid voltage drop.
-
Addressable pixels allow independent color control at each point in the string.
-
Controllers convert sequence data into the electrical signals pixels need.
Pro Tip: Test a short section of your pixel run with a sample sequence before committing to a full installation, so you catch voltage or signal problems early.
Grounding, proper fusing, and weatherproof connectors round out a reliable setup and reduce the odds of a mid-show failure.
How sequences map to music: timing tracks and choreography

A sequence, or timing track, is simply a timeline of lighting commands tied to exact timestamps in a song. Every frame in that timeline tells your pixels what to do at that precise moment, which is why tighter frame rates produce sharper, more responsive choreography.
There are three common ways to build one:
-
Manual mapping: a designer places effects directly on the timeline, matching colors and movement to the song by ear.
-
Automated beat detection: software scans the audio for rhythmic patterns and drops markers automatically, which speeds up rough drafts but often needs a lot manual cleanup.
-
Hybrid approach: many sequences start with automated markers, then get refined by hand around choruses, drops, and key lyrical moments.
Strong markers at predictable points, like the start of a chorus or a big instrumental build, help the audience perceive tight synchronization even when micro-timing varies slightly elsewhere in the song. That is part of why pre-sequenced tracks tend to produce more consistent results for outdoor residential shows than fully manual builds attempted from scratch.
Software and playback: sequencers, players, and the EZRGB workflow
Two distinct pieces of software handle a music-synced show: the sequencer and the player. The sequencer produces the timing file and frame-by-frame lighting data, while a layout-based mapping step ties each light in that file to its physical position on your house. The show player then runs the finished sequence on schedule, streaming the data to your controllers in real time.
Some platforms simplify this into three steps: you build your layout in the design tool, a sequence generator creates a matching sequence for that layout, and a player schedules and plays it back. Because the sequence is generated directly against your layout, Users of certain platforms don’t need to manually map purchased sequences to their own prop arrangement.
-
Sequencer: builds timing data and per-light frames.
-
Layout mapping: links each light to its real-world position.
-
Show player: schedules playback and streams data to controllers.
Pre-made sequences are typically stored in a standard show file format, which keeps them compatible across common playback systems.
A simple, practical setup for a small music-synced display
You do not need a yard full of pixels to get a convincing result on your first attempt. Start small, confirm everything works, then expand.
-
Choose a handful of plug-and-play props or a short pixel run, along with a controller rated for that count.
-
Upload a photo of your home to build a layout, then generate a sequence with EZSequence.
-
Wire the controllers.
-
Schedule the song in EZPlayer, run a low-volume test, and scale up once it looks right.
Pro Tip: Run your first test after dark but before guests arrive, so you can catch wiring issues without an audience watching.
Safety and electrical checklist before you run the show
Safety comes before showmanship. The Consumer Product Safety Commission advises using lights tested by a recognized lab such as UL or ETL, plugging outdoor displays into GFCI-protected circuits, and inspecting every set for frayed wires or loose connections before each use.
The National Park Service’s holiday safety guidance adds a few practical habits: fasten light strings with clips instead of nails, avoid overloading circuits, and only plug outdoor-rated products into permanent, weatherproof outlets.
-
Use UL or ETL-listed outdoor products and GFCI-protected circuits.
-
Inspect cords and connectors for damage before every display season.
-
Fasten lights with clips, never nails, and avoid daisy-chaining too many strings together.
-
Turn the show off when unattended and keep connectors weatherproofed.
UL and ETL listing plus GFCI protection form the baseline safety standard that the CPSC recommends for every seasonal lighting product, and it applies whether you are running two strings or a full synchronized show.
For a deeper walkthrough of weatherproofing connectors and outdoor-rated hardware, see our outdoor lighting safety guide.
How EZRGB simplifies the technical work behind the scenes
EZRGB’s layout designer lets you upload a photo of your home and place decorations where they actually belong. EZSequence then generates a sequence that matches your real-world setup, so you do not need to manually map purchased sequences.
EZPlayer then handles scheduling, letting you pick which songs play, when, and in what order, all from one dashboard. Paired with plug-and-play kits and preinstalled pixel props, this workflow gets a homeowner from unopened boxes to a working show without writing a single line of code.
Starting small makes animated lighting approachable
Your first synchronized display does not need to rival a professional show. Start with one song and a small prop section, get comfortable with how timing and layout interact, then build from there each season. Our step-by-step blog walkthroughs cover each stage in more detail, and safety should guide every decision you make along the way.
— EZRGB Team
Get started with EZRGB kits, props, and EZPlayer
Building an animated display gets a lot simpler when the hardware and software are designed to work together from the start. EZRGB’s Plug and Play Kits include controllers, preinstalled pixel props, and matching sequences, so you skip the trial and error of pairing mismatched parts.
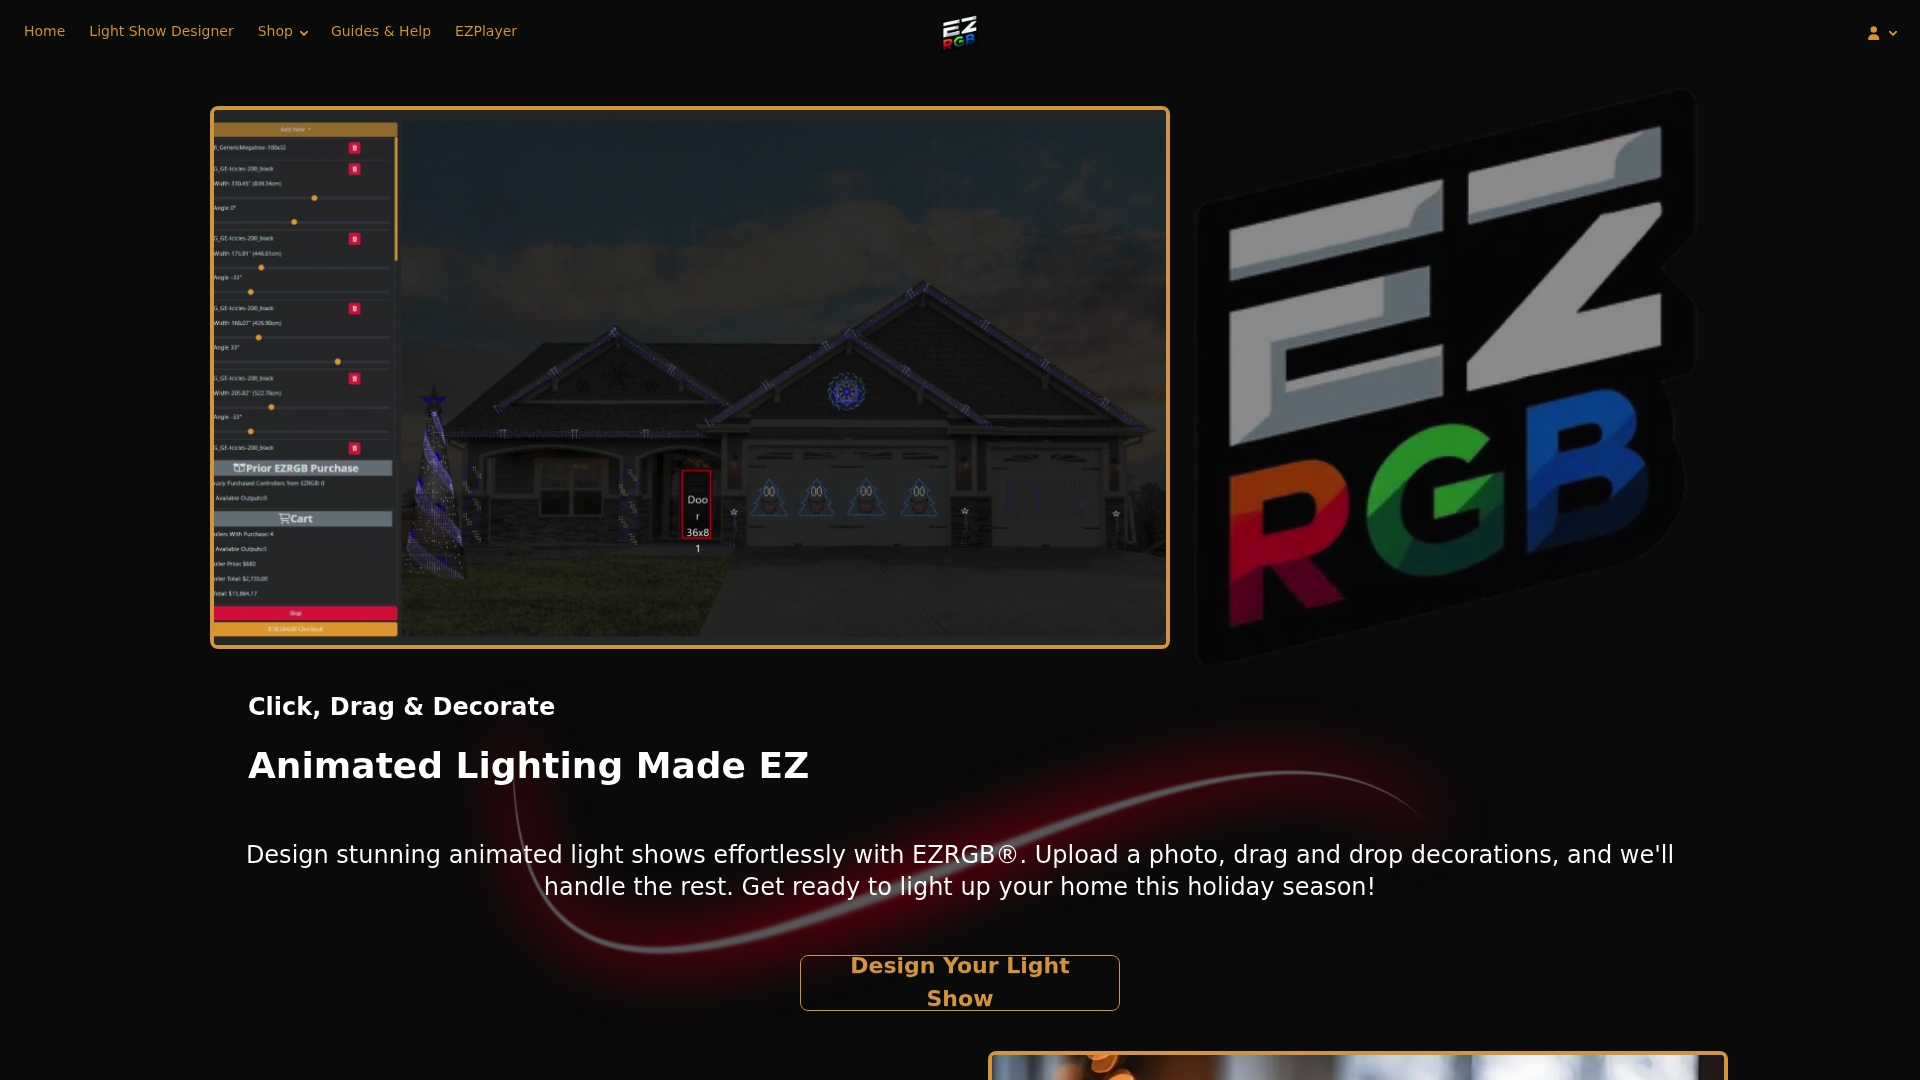
If you already have a layout in mind, browse Plug and Play Props for individual pieces, or pick up RGB Sequences and Pixel Pro Displays to add new songs to a show you are already running. Everything connects to EZPlayer, where you schedule playback and swap songs without touching a single wire.
Ready to see it on your own house? Visit EZRGB to start your layout and get a sequence built for your display.
Sources
FAQ
How do you get Christmas lights to move to music?
Lights move to music when addressable pixels receive a timed sequence file that tells each one exactly when to change color or brightness, matched to a song’s beats and structure. A show player then streams those timed commands to your controllers during playback.
How do you make lights move to music without coding?
Platforms like EZRGB let you build a layout from a photo of your home and generate a matching sequence automatically, so you never write code or manually map a song. You simply schedule the finished sequence in EZPlayer and let it run.
What Christmas lights can be set to music?
Addressable RGB pixel lights, the kind with an individual chip in each bulb, are what allow per-light synchronization to music. Standard incandescent or non-addressable LED string lights can only be turned on or off as a group, so they cannot produce the same choreographed effects.
How do you make a light show set to music?
You need addressable pixels, a controller, a power supply sized to your pixel count, and a sequence file timed to your chosen song. Tools like EZSequence generate that sequence directly from your layout, and EZPlayer handles scheduling and playback once it’s built.
